Configure the map
Your share link includes all the settings on this page. So your team opens the map as you leave it.
Choose the fields that describe a feature
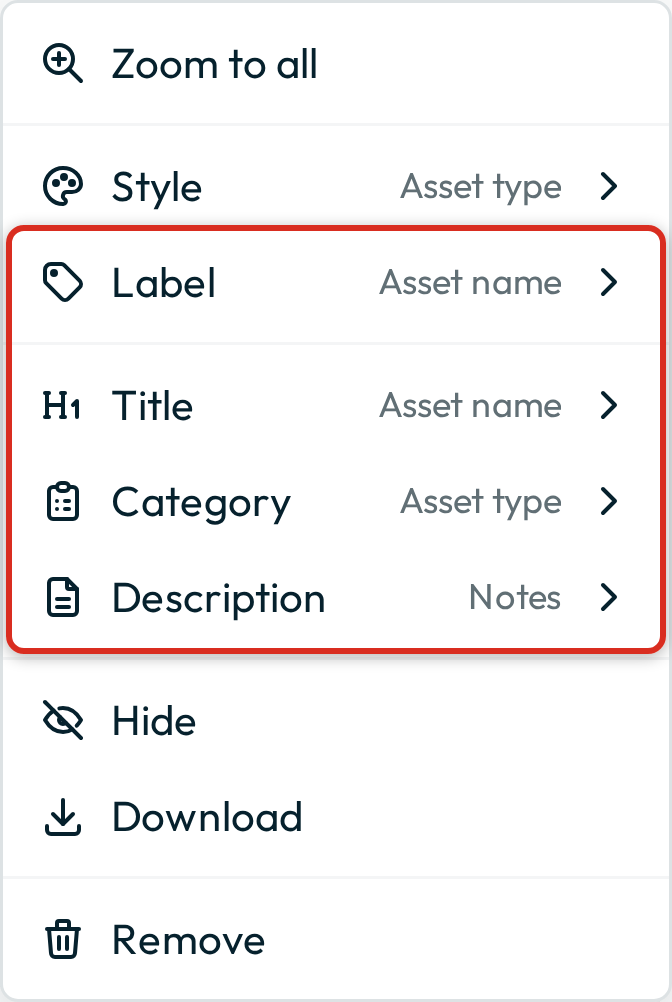
Use the layer’s ⋮ menu to choose:
- The field that gives a feature its name.
- The field that labels it on the map.
- The fields beside and below it in the list.
Choose the layer’s fields and style in the User Guide tells you about each of them.
Groundwork takes their first values from your data source. For example, the display field of a QGIS project becomes the Title, and a categorised style gives the Category. A change that you make here takes priority.
Groundwork shows a field’s QGIS alias everywhere it names the field: in the rows of the ⋮ menu, in the field list of the filter and on its buttons, and in the sort menu. If none of a layer’s fields has an alias, and their names have no capital letters, Groundwork shows all the names in capitals. If one alias or field name has a capital letter, Groundwork shows every name as you wrote it.
Choose the style of a layer
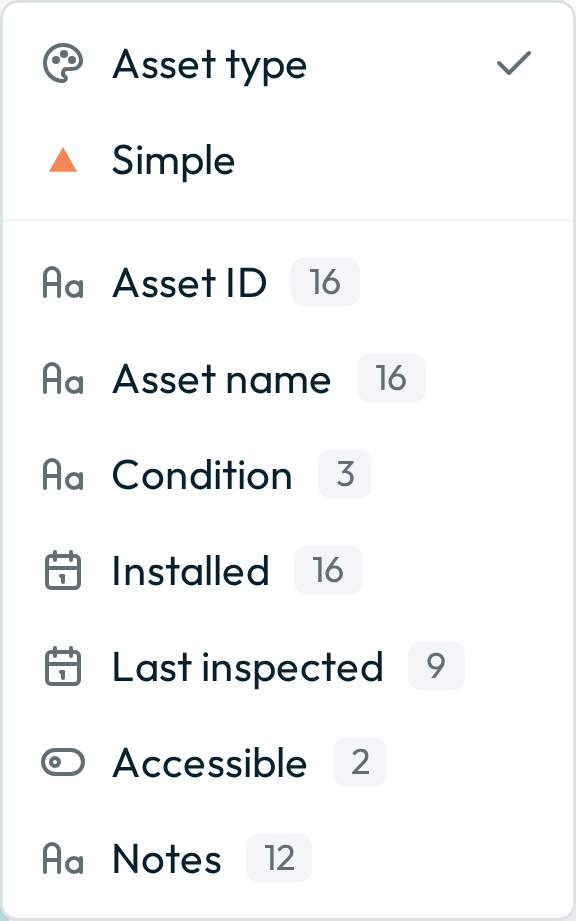
A QGIS layer can have several named styles, and Groundwork publishes all of them. The Style row in the same menu lists them. By default, Groundwork draws the style that your project marks as current. After the styles, the list has Simple and the layer’s own fields to colour by.
The link includes your choice. So your team sees the style that you left active, and any symbol that you set for a layer.
If QGIS names a style default, Groundwork lists it with the name of the field that it is categorised or graduated on, not as Default. To show a different name, give the style its own name in QGIS.
Other settings that the link includes
- Filters. Use the Filter buttons to show only the values that you tick, on the map and in the list. Your team then opens the map on that subset, such as the trees that need inspection, or this year’s plantings.
- Sort. To set the order of the feature list, use the Sort menu at the end of the row of controls above the list.
- Where the map opens. Pan and zoom to the area where your team must start, such as a particular depot or ward. A map from a QGIS project already opens on the view that was saved with the project. A view that you set here replaces that view for the people who get your link.
- The active layer. If your map has more than one layer, your team sees the features of the layer that you leave active, and edits that layer. Layers that you leave hidden open as hidden layers, and your team can show them. If you include context layers, leave them hidden to keep the panel clear.
- The basemap. Every map has a basemap behind the data. Your team opens the map on the basemap that you leave active.
What the recipient can change
The link includes all the settings above as defaults, and the recipient can change any of them. The link never includes bookmarks or unit preferences. See what a link leaves behind.
Next: Share your map.